Winter Sourdough Challah: Braiding High-Hydration Dough
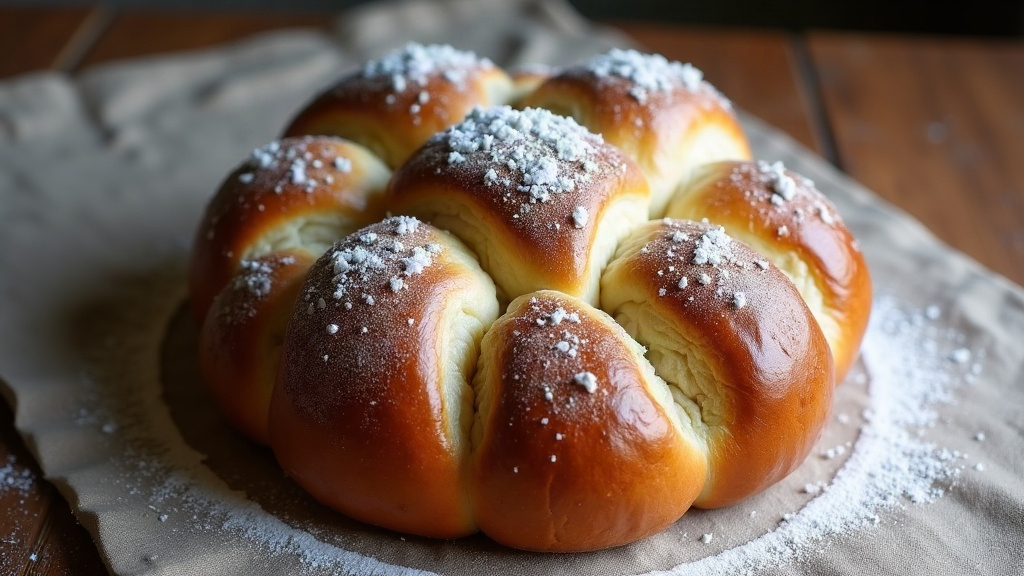
Braiding a high-hydration sourdough challah in January is a different animal than doing it in July. Wet dough wants to tear in your hands instead of forming those glossy, rope-like strands you see in bakery photos. Here’s the good news: once you dial in hydration, dough temperature, and your braiding motion, you can get genuinely beautiful results even in a cold kitchen with a sluggish starter. Below is a practical walkthrough for handling sticky, high-hydration sourdough challah so it braids clean, without the frustration of ripped strands.
Why High-Hydration Challah Tears So Easily
A standard challah dough usually sits around 60-65% hydration. Sourdough versions push past that, often 70% or higher, because the starter needs extra moisture to ferment well and build real flavor. That extra water buys you flavor and crumb, but it costs you structure: the dough turns slacker and more extensible, which makes shaping noticeably harder.
Winter makes this worse in two specific ways:
- Cold kitchens slow fermentation down, so bakers end up proofing longer than they planned. That stretched-out timeline can overdevelop gluten extensibility, leaving strands floppy instead of springy.
- Cold dough starts stiff but turns sticky fast once your hands warm it up during handling. The texture shifts mid-braid, which throws off your rhythm.
Once you understand what’s actually happening, you stop fighting the dough and start adjusting your technique instead.
Getting Dough Strength Right Before Braiding
Before you even think about shaping strands, the dough needs real structure underneath it. Here’s how to build that.
1. Strengthen with folds, not just kneading
Do 3-4 rounds of stretch-and-folds during bulk fermentation, about 30 minutes apart. This builds gluten strength gradually, without beating up a wet dough the way aggressive kneading would. Think of it as coaxing strength in, not forcing it.
2. Use a cold retard strategically
A slow, cold bulk ferment (12-16 hours in the fridge) firms the dough up considerably and makes dividing and rolling strands much more manageable. Cold dough simply holds its shape longer while you braid, which matters a lot in winter, when room-temperature dough stays tacky no matter what you do.
3. Rest after dividing
Once you’ve divided the dough into strands, cover them and let them rest for 15-20 minutes before rolling. This gives the gluten a chance to relax, so strands actually stretch when you roll them instead of snapping back or ripping.
Rolling Strands Without Tearing
- Flour your hands, not the dough. Dusting the dough surface too heavily stops strands from sealing properly once you braid them together.
- Roll from the center outward with even pressure. Tapered ends (thin at the tips, thicker in the middle) give you a more even, professional-looking braid.
- Roll in two passes. Shape each piece partway, let it sit for 5 minutes, then roll it the rest of the way to length. This small pause stops the dough from snapping back and splitting at the ends, something that happens constantly if you try to force a strand to full length in one go.
The Braiding Technique for Wet Dough
- If a strand feels too soft, chill it for 10 minutes on a tray first. Firm dough braids far more predictably than warm, tacky dough; this one trick saves more braids than any other adjustment on this list.
- Braid on a lightly floured surface, not a floured strand. Keep your hands gentle, high-hydration dough needs looser tension than a stiffer, standard dough would.
- Pinch and tuck both ends firmly, top and bottom, so the braid doesn’t unravel during the final proof.
- If a strand cracks a little anyway, pinch the tear shut right away and smooth it over with a wet fingertip. Small repairs like this disappear completely once the loaf bakes.
Managing the Final Proof in a Cold Kitchen
Winter proofing is often the real villain behind a collapsed or spread-out braid. Aim for a slow proof, 90-120 minutes at 68-70°F, longer if your kitchen runs cooler. Keep the dough away from drafty windows and cold ovens with the pilot light off; uneven temperatures cause lopsided rising and strands that separate from each other instead of staying locked together.
If your kitchen sits below 65°F, rig up a makeshift proofing box: an oven with just the light on, or a covered container set near a radiator works fine. You want gentle, even warmth, not heat strong enough to kick fermentation into overdrive, because that speed weakens the structure you just spent all that time building.
Troubleshooting Quick Reference
- Dough won’t hold its braid shape: chill it for 15 minutes before braiding.
- Strands tearing at the ends: let the dough rest longer between rolling passes.
- Braid spreads flat during proofing: your kitchen is too warm, or the dough is overproofed. Cut the proof time back.
- Dough feels gummy: drop hydration by 3-5% on your next bake, or stretch bulk fermentation out a bit for better structure.
Final Thoughts
High-hydration sourdough challah is absolutely braidable in winter. You just need to work with the season instead of fighting it. Cold retards, patient rolling with built-in rest breaks, and careful, temperature-aware proofing turn a sticky, tear-prone dough into a glossy, well-structured braid that would look right at home on any holiday table. Once you’ve figured out the right hydration and timing for your specific kitchen, this whole process stops feeling like a fight and starts feeling routine, even on the coldest baking day of the year.