Pale Top, Scorched Bottom: Fixing Sourdough in a Convection Oven
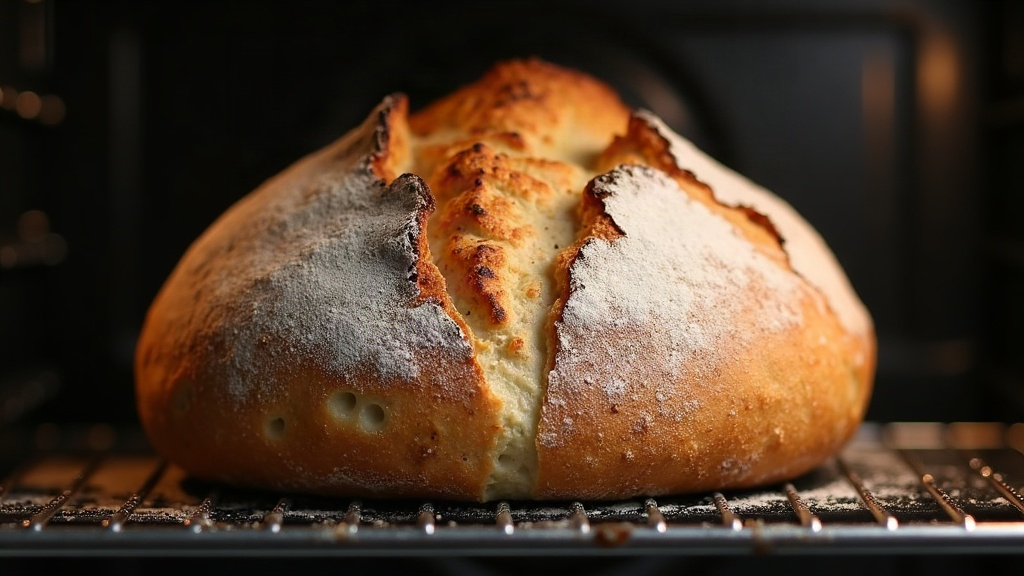
If your sourdough keeps coming out with a bottom that looks like charcoal while the top is still pale and gummy, don’t blame your starter or your flour. Nine times out of ten, it’s uneven heat distribution in a convection oven, and once you understand what’s going on underneath that loaf, it’s actually pretty easy to fix.
Why This Happens in Convection Ovens
Convection ovens use a fan to push hot air around, which in theory should bake more evenly than a conventional oven. In practice, though, a lot of home convection ovens (especially the smaller countertop units, or ovens with a heating element sitting right under the oven floor) dump intense radiant heat straight at the bottom. The fan does a decent job circulating air around the sides and top, but it’s just not as effective at moving heat upward the way a scorching-hot stone or tray does. Result: the bottom is burnt to a crisp before the top crust has even started to think about browning.
A few things usually make this worse:
- Baking stone or steel soaking up too much heat. Preheat a stone for 45 to 60 minutes at 475°F or higher, and you’ve basically built a thermal battery that keeps cooking the underside of your loaf long after it should’ve stopped.
- Rack sitting too low. Put your loaf on the bottom rack, or even the second-from-bottom, and it’s sitting way too close to that heating element compared to the hot air rising toward the top.
- Fan-forced heat not making it into a Dutch oven. Bake covered, and the lid blocks airflow completely. The top only gets heat through conduction via trapped steam, which is slow going.
- A thermostat that’s lying to you. Plenty of ovens run hotter than the dial or display claims, and convection models can make hot spots even more pronounced.
Fixes That Actually Work
1. Move the Rack Up
Bump your rack to the middle, or even upper-middle, position. This one change alone fixes maybe 80% of scorching complaints, because it puts real distance between the dough and that bottom element while still letting the fan do its job circulating heat around the top.
2. Lower the Temperature and Extend Time
Convection ovens run hotter and faster than the dial suggests. If a recipe says 475°F for a standard oven, try 450°F (or drop to 425°F) when baking on convection. A lot of bakers default to the “minus 25°F” rule and tweak from there once they see how their particular oven behaves.
3. Insulate the Bottom
- Stack two stones, or slide an empty sheet pan underneath your main stone or tray, to buffer that direct blast of heat.
- If scorching is bad, swap a thick baking steel (which holds heat like crazy) for a thinner stone.
- For Dutch oven baking, line the bottom with parchment plus an extra sheet of foil for the first 10 to 15 minutes.
4. Remove the Dutch Oven Lid Earlier
Baking covered? Pull the lid at 15 to 18 minutes instead of waiting the usual 20 to 25. That gets convection air onto the top sooner, so it can start coloring while the bottom (which has already had plenty of time) isn’t getting hammered further.
5. Use the Right Convection Mode
Got both “true convection” (fan plus a rear element only) and “convection bake” (fan plus top and bottom elements)? Go with true convection for a more even top-to-bottom bake. Skip “convection roast” entirely for bread; it’s tuned to favor bottom heat for crisping meat, which is exactly what you don’t want here.
6. Tent the Top, Shield the Bottom
If the bottom’s still browning too fast while the top refuses to color, try flipping the usual trick on its head: instead of tenting foil over the top, slide a loose sheet of foil underneath the loaf or stone for the last 10 minutes. That blocks direct bottom heat and buys the top time to catch up.
Quick Diagnostic Checklist
- Bottom burnt before the 20-minute mark? Rack’s too low, or your stone’s overheated.
- Top still pale at 45+ minutes? Cut back on bottom heat exposure, and check your thermostat with a cheap oven thermometer. You’d be surprised how often ovens are off by 25 to 50 degrees.
- Crust blistered but pale? That’s not a humidity problem, no matter what it looks like. It’s underexposure to top heat, and pulling the Dutch oven lid earlier usually clears it right up.
A Simple Test Bake
Here’s a cheap way to settle the debate with yourself: bake two small loaves or rolls side by side, one on the middle rack with no stone, one on your regular setup. Check both top and bottom at the 20-minute mark. Twenty minutes and a couple of rolls will tell you more than another forum thread ever will, because you’ll see exactly whether the stone or the rack position is your real problem.
Conclusion
A scorched bottom paired with a pale top isn’t a recipe failure, it’s a heat-balance issue, plain and simple. Raise the rack, knock the temperature down 20 to 25 degrees, insulate the oven floor, and get that Dutch oven lid off a few minutes earlier so the top can catch some convection air. Make those small adjustments and your sourdough should come out evenly golden, with a crisp, well-blistered crust top to bottom, not just on one end of the loaf.