How to Freeze Sourdough Starter in Ice Cube Trays for Travel
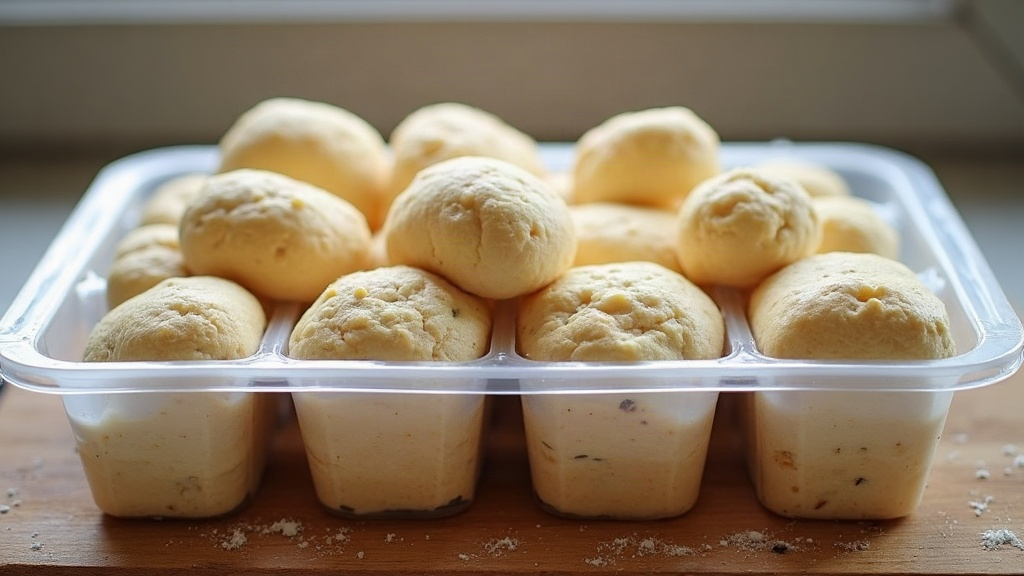
Freezing Sourdough Starter in Ice Cube Trays: The Long-Trip Fix
If you’re heading out on a long trip and don’t want to guilt-trip a friend into daily starter feedings, freezing your sourdough starter in ice cube trays is one of the most reliable ways to pause it safely for weeks, sometimes months. This method splits your starter into small, easy-to-thaw cubes that come back to life faster and more predictably than one giant frozen block ever would.
Why Ice Cube Trays Beat a Single Container
Sourdough starter is a living culture, wild yeast and lactic acid bacteria working together. Freezing doesn’t kill them, it just slows them way down. The trouble with freezing starter in one big jar is that a dense mass thaws unevenly. The outer edges can start fermenting again while the center’s still a solid block of ice, which stresses the whole culture.
Ice cube trays fix this by breaking everything into small, uniform portions:
- Faster freezing means less ice crystal damage to the yeast cells.
- Even thawing, so the whole cube wakes up at once instead of in stages.
- Portion control: thaw just what you need instead of defrosting your entire reserve.
- Easy restart: each cube is roughly one feeding’s worth, which makes jumpstarting a new jar simple.
Step-by-Step: Freezing Your Starter
- Feed your starter as usual, 4-6 hours before freezing, so it’s active and bubbly. A starter that’s alive and hungry-fed freezes and revives noticeably better than one that’s sluggish and starved.
- Use a silicone ice cube tray. Silicone lets you pop out frozen cubes without cracking the tray or smashing the starter into pieces.
- Spoon starter into each compartment, filling about three-quarters full. It expands a little as it freezes, so don’t fill to the brim.
- Freeze uncovered for 2-4 hours until solid, then pop the cubes out.
- Transfer cubes to a labeled freezer bag or airtight container. Write down the date and the flour type (whole wheat, rye, all-purpose). Trust me, you won’t remember six weeks from now, and it matters when you revive it.
- Push out excess air from the bag before sealing, so you don’t end up with freezer-burned cubes.
Properly frozen starter cubes stay viable for 2 to 3 months. Plenty of bakers have revived cubes that sat in the freezer for 6 months or longer, though the culture might take an extra day or two to find its rhythm again.
How to Thaw and Revive Frozen Starter Cubes
Back from your trip? Here’s the drill:
- Pull out 2-3 cubes per tablespoon of starter you want to rebuild.
- Thaw at room temperature in a clean jar for about 1-2 hours, or let it thaw overnight in the fridge for a gentler wake-up call.
- Feed right away with equal parts flour and water by weight. A 1:1:1 ratio of starter, flour, and water is a safe place to start.
- Expect a slow first rise. The culture may need 24-48 hours and two or three feedings before it’s back to doubling on schedule.
- Toss it if you see any pink, orange, or fuzzy mold. This is rare with properly frozen starter, but always trust what you see and smell over what the calendar says.
Common Mistakes to Avoid
- Freezing a starter that’s already past peak and hungry. It won’t have enough food reserve to survive dormancy comfortably.
- Skipping the label. An unlabeled bag buried in a freezer full of other flour products is asking to get forgotten or mixed up.
- Overfilling the compartments. Cubes fuse together, and you lose the whole point of portioning.
- Rushing the comeback. Give it 2-3 full feeding cycles before deciding it’s dead. Sourdough is tougher than people give it credit for.
Ice Cube Trays vs. Other Long-Term Storage Options
- Drying into flakes: lasts a year or more at room temperature, but takes noticeably longer to rehydrate and wake up compared to frozen cubes.
- Fridge storage with weekly feeding: works fine for trips under 2 weeks, but someone still needs to check on it.
- Freezing in one jar: okay for short trips (under a month), but you’re gambling on uneven thawing.
- Ice cube trays: the sweet spot for trips running 3 to 12 weeks. Best balance of convenience, viability, and a quick comeback.
Conclusion
Freezing sourdough starter in ice cube trays is a low-effort, high-reliability way to protect your culture through long travel or an extended vacation, no neighbor babysitting required. Freeze it while it’s active, keep the portions small, label everything clearly, and be patient on the way back. Do that, and your starter will bubble back to life, ready for its next loaf.