How to Bake Sourdough in a Backyard Wood-Fired Oven
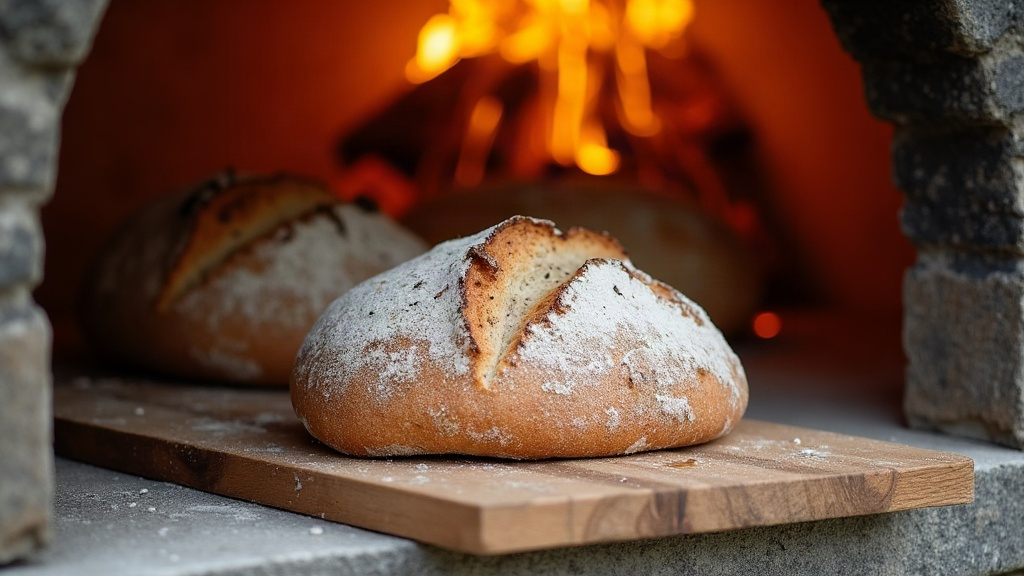
Baking sourdough in a backyard wood-fired oven gets you a crust and flavor you just can’t fake in a conventional kitchen setup. But that trade-off comes with real work: you’re managing residual heat, chasing steam, and fighting hot spots the whole time. This guide walks through the full process, from firing the oven to pulling out a loaf with a deeply caramelized, blistered crust.
Why Wood-Fired Ovens Are Different
A home oven hands you precise, steady temperature control at the push of a dial. A wood-fired oven does the opposite. It’s a thermal mass that spikes hot, then releases heat slowly as the fire dies down. That creates two headaches for sourdough bakers:
- Falling temperature curve. The oven might sit at 800°F+ right after firing, then cool steadily over the next few hours.
- Uneven heat distribution. The dome, floor, and the wall nearest the fire all radiate heat differently, so hot spots form almost by default.
Get a feel for this curve and timing your bake stops being guesswork.
Step 1: Fire the Oven the Night Before (or Hours Ahead)
Build a hot fire with hardwood (oak, almond, or a fruitwood like apple or cherry work well) and burn it for 1.5 to 2 hours, until the dome interior shifts from black soot to a clean, whitish-grey. That color change usually signals the dome has hit 700 to 900°F.
- Once the dome is evenly hot, rake the coals to one side.
- Sweep out ash and embers with a wet cloth tied to a peel, or use a dedicated oven brush.
- Close the door and let the heat equalize for 30 to 45 minutes. Don’t skip this soak, it’s what lets the floor and walls settle toward a common temperature instead of leaving you with scorching pockets.
Step 2: Check Your Temperature Before Loading
Sourdough does best starting around 450 to 500°F, then drifting down as the bake continues (basically mimicking the steam-then-dry cycle you’d get from a Dutch oven). Grab an infrared thermometer and check two spots:
- Floor temperature: you want 480 to 520°F at load time.
- Dome temperature: this should run hotter, roughly 600 to 650°F, since heat radiates down from above.
If the floor reads 600°F or more, the crust will scorch before the crumb even sets. Give it another 15 to 20 minutes, or test with a dusting of semolina. If it blackens on contact, the floor’s still too hot.
Managing Hot Spots
Every wood-fired oven has a “fire side” that holds heat longer than the rest. A few ways to work around it:
- Rotate the loaf every 3 to 5 minutes with a wooden or metal peel. Don’t wait until one side is visibly darker, rotate before that happens.
- Place loaves away from the fire’s direct radiant zone, usually center-back or the spot opposite the coal pile.
- Use a loaf-sized cast iron pot or clay cloche to buffer direct dome heat and even out browning. It also traps a bit of steam right around the loaf, which helps.
- If you’re baking multiple loaves at once, put the smaller, faster items (rolls, for instance) on the hot side and save the far side for bigger boules.
Managing Steam
Steam is what gives sourdough that glossy, blistered, crackling crust. It keeps the surface pliable just long enough for the oven spring to happen before the crust locks in. Wood ovens don’t come with a steam injector, so you’ve got to improvise:
- Water pan method: set a cast-iron pan of water at the back of the oven floor right before loading. You’ll get a burst of steam for about 5 to 10 minutes.
- Spritz method: mist the oven walls and the loaf itself with a spray bottle right before closing the door.
- Covered baking: bake inside a preheated Dutch oven or clay cloche for the first 15 to 20 minutes, then lift the lid so the crust can color and crisp under direct dome heat.
- Door management: in very humid climates, cracking the door slightly for the first few minutes can help vent excess moisture. Otherwise, keep it shut early on so the steam actually stays where you need it.
A Simple Bake Timeline
- 0 to 15 minutes: covered or steam-injected, door closed, floor at 480 to 500°F.
- 15 to 25 minutes: pull the cover or lid, rotate the loaf every 4 minutes for even color.
- 25 to 35 minutes: watch the crust closely. If the dome is still blasting heat and the crust’s darkening faster than the inside is cooking (you’re aiming for 205 to 210°F internal), tent it with foil.
Common Mistakes to Avoid
- Loading too hot: you end up with a scorched crust over an undercooked crumb.
- Skipping the soak time: this is how you get wild temperature swings and stubborn hot spots.
- Forgetting to rotate: one side burns while the other barely colors.
- Skipping steam entirely: the crust sets too early, which kills oven spring and that glossy shine everyone’s after.
Conclusion
Wood-fired sourdough rewards patience and close observation a lot more than it rewards precise numbers on a dial. Let the oven soak after firing. Check the floor and dome temps before you load. Rotate often to outsmart hot spots. And find your steam, whether that’s a water pan, a spritz bottle, or a covered vessel. Once you’ve learned how your particular oven behaves, you’ll turn out loaves with a deep, smoky, crackling crust that no kitchen oven could ever give you.