Beginner Guide to Preventing Sourdough from Sticking to a Banneton
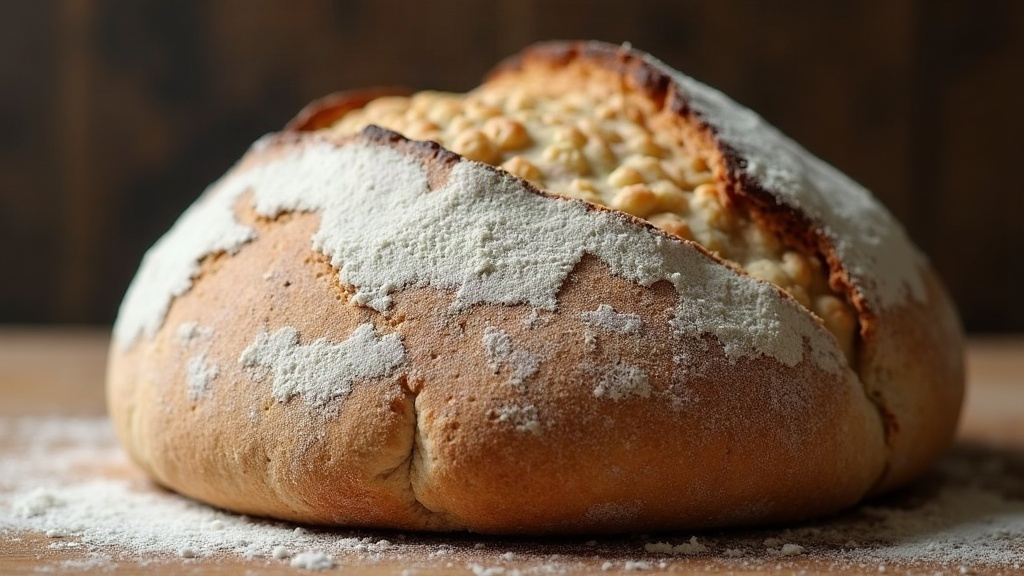
If your sourdough keeps gluing itself to the banneton, nine times out of ten it’s one of three culprits: not enough flour, the wrong kind of flour, or dough that’s too wet for where you’re at skill-wise. Here’s how to prep, flour, and handle your banneton so the loaf pops out clean, even if this is your first time shaping a boule.
Why Sourdough Sticks to a Banneton
A banneton (proofing basket, if you prefer plain English) pulls moisture away from the dough’s surface while holding its shape during that final rise before baking. Sticking tends to happen when:
- The basket wasn’t floured generously, or the flour didn’t reach every corner.
- You grabbed the wrong flour (more on that in a second).
- The dough sat in proof too long and turned slack and tacky.
- The banneton is fresh out of the box and hasn’t been seasoned yet.
- You’re working with a hydration level that’s a bit much for your current comfort zone.
Knowing which one is biting you matters. Otherwise you just end up dumping extra flour in and hoping for a miracle.
Step 1: Choose the Right Flour for Dusting
Not every flour behaves the same way in a banneton. Here’s what actually works:
- Rice flour is the gold standard, full stop. Its gluten content is basically nil, so it won’t soak up moisture and turn gummy the way wheat flour does.
- A 50/50 blend of rice flour and all-purpose is a solid middle ground, enough grip to help with shaping, enough slip to still release clean.
- Skip straight all-purpose or bread flour for dusting. It drinks up moisture from the dough and can turn into a paste that practically cements the loaf to the basket.
No rice flour in the pantry? Semolina or cornmeal will do in a pinch, though expect a slightly coarser crust texture as a trade-off.
Step 2: Flour the Banneton Generously and Evenly
A thin dusting won’t cut it, especially if you’re still learning how dough behaves in your hands.
- Use a fine-mesh sieve to lay down a thick, even coat of rice flour across the whole basket.
- Pay close attention to seams, ridges, and the center bottom. That’s where dough grips hardest and sticking starts.
- Tap out the excess, but don’t skimp. A visible, almost snowy coating is exactly the look you want.
- For the classic ridged coil bannetons, flour needs to get into every groove. Sometimes a sieve isn’t enough; run your fingers through the pattern to make sure it’s covered.
Step 3: Watch Your Dough’s Hydration
High-hydration doughs (think 75% water or more) stick more often simply because they’re tackier by nature. If you’re newer to this:
- Stick to roughly 65-70% hydration until your hands get a feel for sourdough.
- Make sure the gluten is well developed before you shape. Underdeveloped dough stays loose and sticky no matter how much flour you throw at it.
- Watch your proof time closely. Over-proofed dough loses its structure, turns stickier, and practically welds itself to the basket.
Step 4: Season Your New Banneton
A brand-new wooden or rattan banneton hasn’t built up its natural flour-and-starch patina yet, so your first few bakes in it are more likely to stick regardless of technique.
- Dust it lightly with flour and let it sit unused overnight before its first real bake.
- After every bake, let the basket air-dry completely before you put it away.
- Never wash it with water and soap. Just brush out leftover flour with a stiff brush. Washing strips the seasoning right off and invites sticking, and mold, back in.
Give it 3 to 5 bakes and most bannetons settle into a naturally reliable nonstick surface on their own.
Step 5: Unmolding Without Drama
When the moment comes to turn the dough out, here’s the sequence:
- Lay your baking surface (parchment, a pizza peel, or your Dutch oven lid) straight over the top of the banneton.
- Flip both together in one firm, confident motion. Don’t hesitate halfway through; that’s when things go sideways.
- If the dough doesn’t drop right away, tap or gently shake the bottom of the basket. Resist the urge to yank or scrape at it.
- Still stuck in one spot? Slide a thin silicone spatula along the edge to loosen it gently rather than forcing the whole thing out.
Quick Troubleshooting Checklist
- Still sticking? Use more rice flour next round, and really work it into the seams and grooves.
- Dough tearing as it comes out? Probably over-proofed, or under-floured. Check both before you blame the banneton.
- Flour turning into paste? That’s a sign you grabbed wheat flour instead of rice flour.
- New banneton giving you grief? Let it rack up a few more seasoned bakes before writing it off.
Final Thoughts
Keeping sourdough from sticking to a banneton really comes down to prep work: rice flour, a generous and even coat (don’t neglect the grooves), sensible hydration for your skill level, and a basket that’s had time to season. Nail this routine and unmolding turns into one of the best parts of baking day, watching that perfectly shaped loaf slip out clean and ready for the oven.